Using BIOS Setup Utility Menu Items
- Use a USB keyboard, mouse, and VGA monitor connected directly to the server.
- Use a terminal (or terminal emulator connected to a computer) through the serial port on the back panel of the server.
- Connect to the server using the Sun ILOM Remote Console.
To access BIOS configuration screens and to change the system’s parameters, complete the following steps:
2. To enter the BIOS Setup utility, press the F2 key while the system is performing the power-on self-test (POST) FIGURE E-1).

When BIOS is started, the main BIOS Setup utility top-level screen appears (FIGURE E-2). This screen provides seven menu options across the top of the screen.
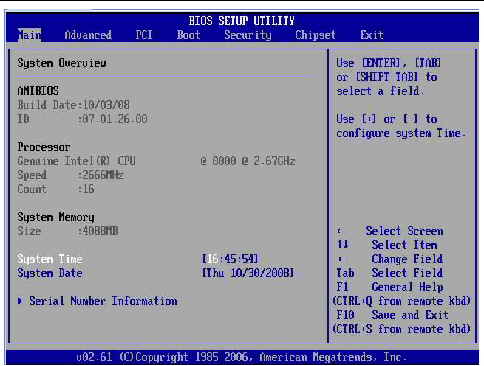
4. To select an option on a top-level screen, use the up and down arrow keys to scroll up and down the options presented.
- If a field can be modified, as you select the option, user instructions for modifying the option appear in the right column of the screen.
- If a field is a link to a sub-screen, instructions to press the Enter key to access the sub screen appear in the right column.
6. On sub-screens that only provide configuration information and cannot be modified, press the Esc key to exit the screen.
7. To continue modifying other setup parameters, repeat Step 3 through Step 6. Otherwise, go to Step 8.
9. Follow the instructions on the Exit menu screen to save or discard your changes and exit the BIOS Setup utility.
BIOS Setup Screens Overview
See BIOS Setup Utility Menu Screens for examples of each of these screens.
E.3 BIOS Setup Utility Menu Screens
The following figures show sample Sun Fire X4170, X4270, and X4275 Servers BIOS Setup utility screens.
| Note - The screens shown are examples. The version numbers and the screen items and selections shown are subject to change over the life of the product. |
- BIOS Main Menu Screens
- BIOS Advanced Menu Screens
- BIOS PCI Menu Screens
- BIOS Boot Menu Screens
- BIOS Security Menu Screens
- BIOS Chipset Menu Screens
- BIOS Exit Menu Screens
1 BIOS Main Menu Screens
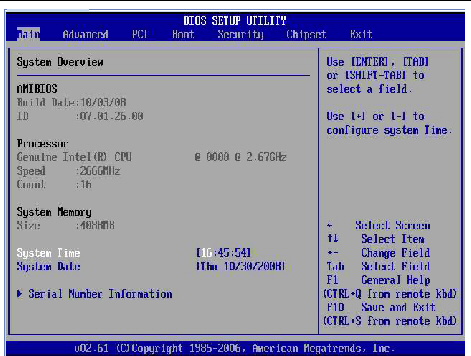
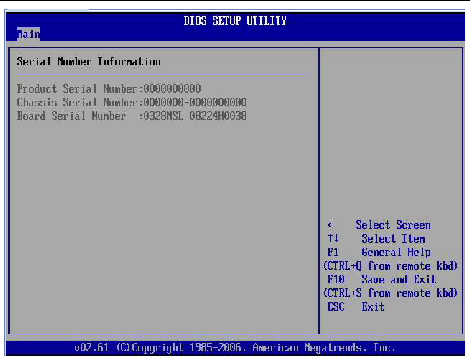
The BIOS Main screens provide general product information, including BIOS, processor, system memory, and system time/date.
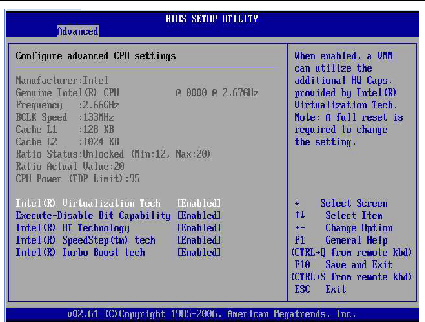
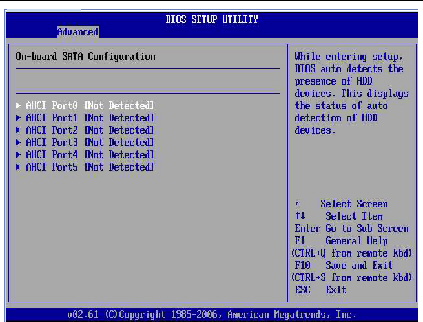
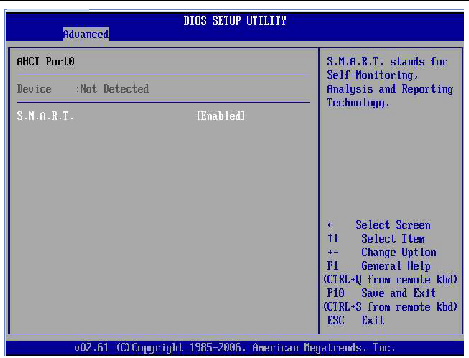
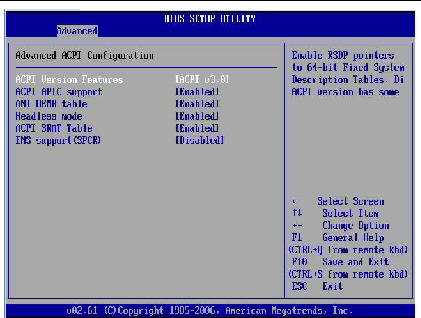
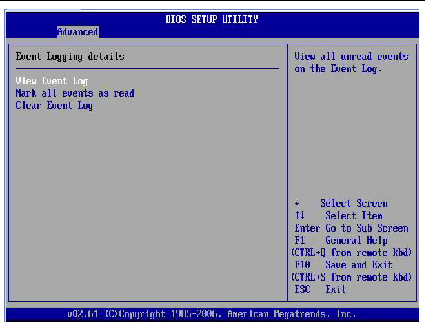
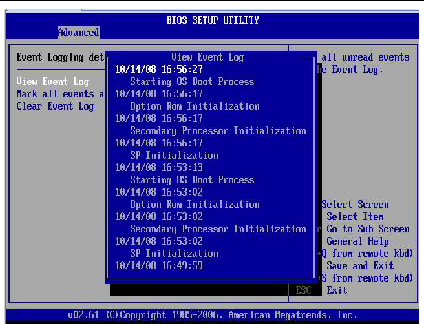
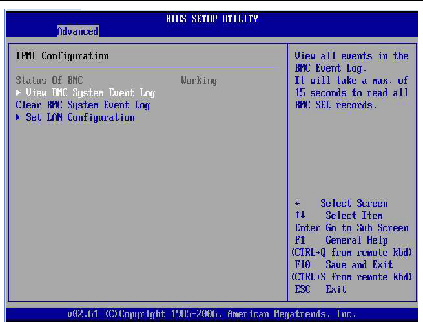
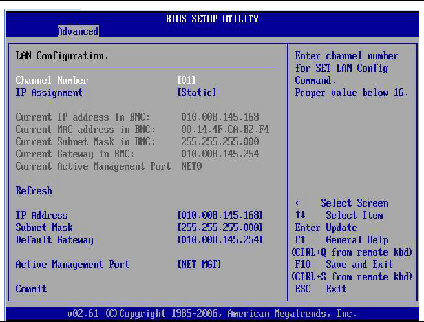
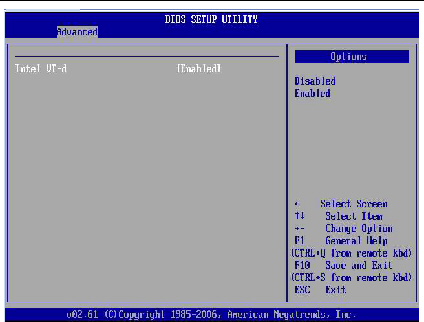
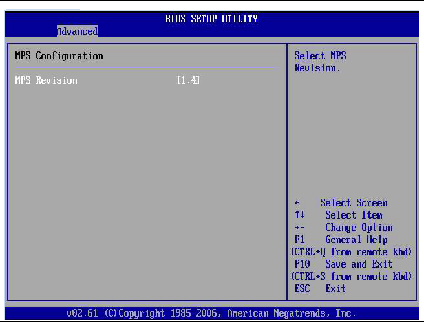
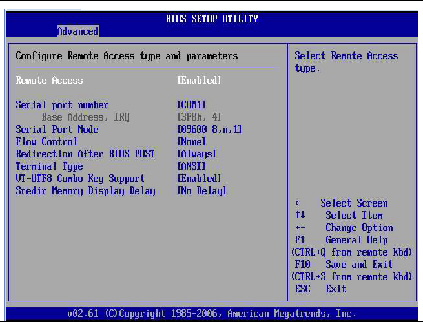
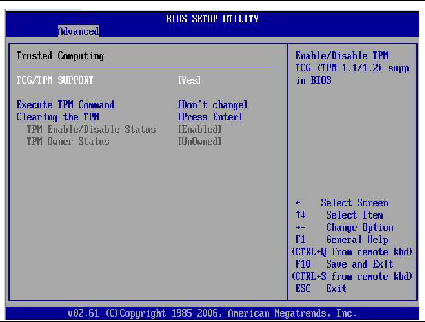
E.3.2 BIOS Advanced Menu Screens
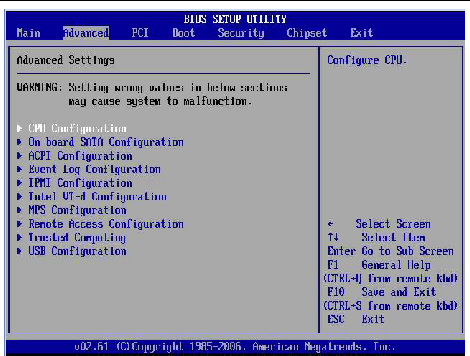
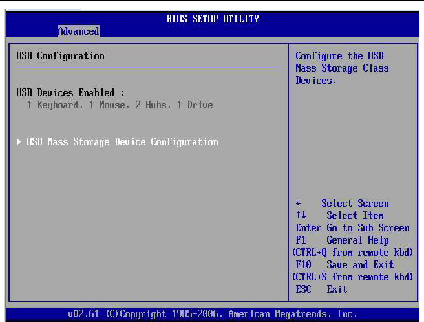
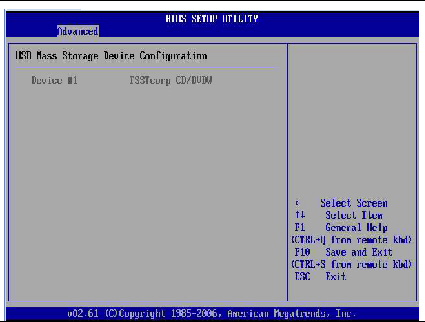
The BIOS
Advanced screens provide detailed configuration information for the CPU,
memory, IDE, Super IO, trusted computing, USB, PCI, MPS and other
system information.


E.3.3 BIOS PCI Menu Screens

4 BIOS Boot Menu Screens
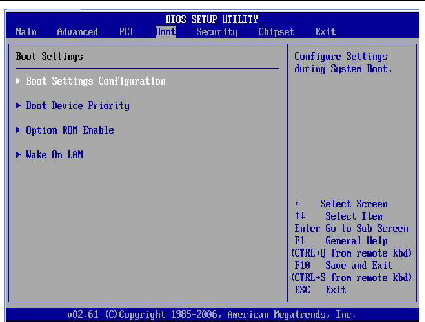
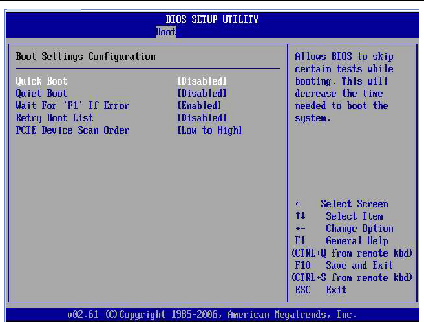
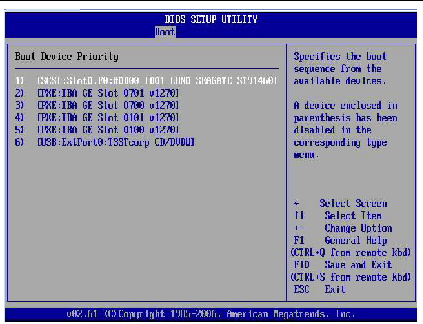
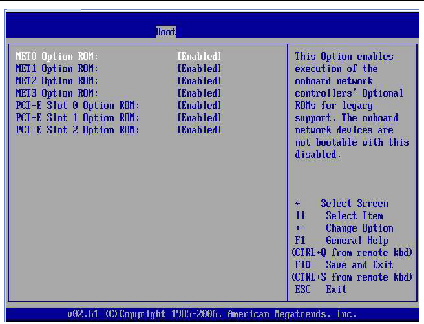
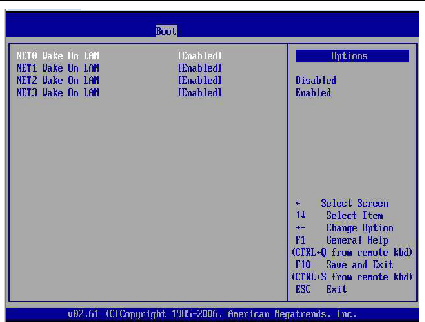
The BIOS Boot screens enable you to configure the boot device priority (storage drives and the DVD-ROM drive).
5 BIOS Security Menu Screens
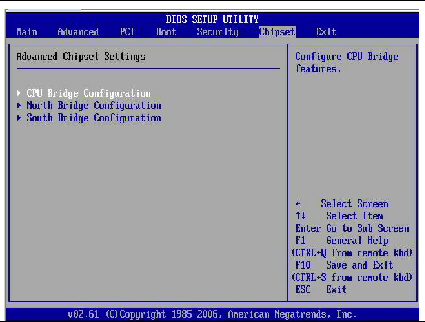
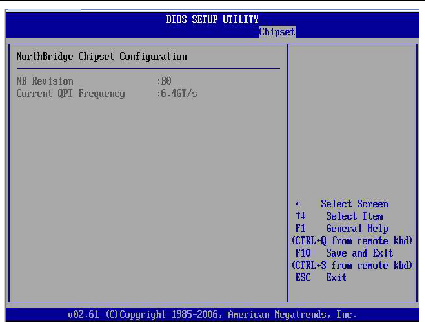
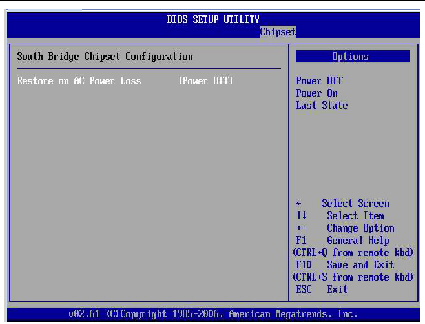
6 BIOS Chipset Menu Screens

7 BIOS Exit Menu Screens
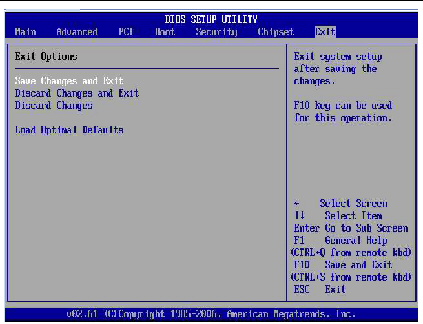
The BIOS Exit options enable you to save changes and exit, discard changes and exit, discard changes, or load optimal defaults (FIGURE E-33).
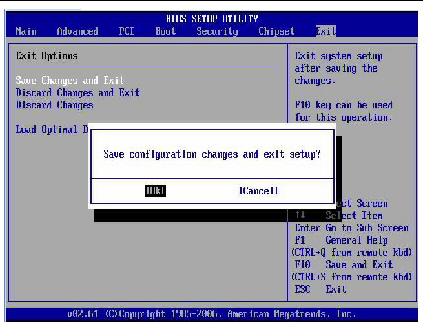
A confirmation dialog box appears (see FIGURE E-34) that enables you to save or cancel the changes and exit the Setup utility.
| Note - The confirmation dialog box is only shown below for the Save Changes and Exit option screen. The other confirmation screens work in a similar way. |
Tidak ada komentar:
Posting Komentar